DNS Records (A and NS)
After creating your server at UpCloud, add DNS records so the server can be reached by domain. We use GoDaddy — we have a shared account, so everyone logs in with the same credentials if needed.
You'll need your server's public IP from UpCloud before starting.
Both Slipstream and DNSST + SSH use a subdomain with an A record and an NS record. You'll add both.
Step 1: Sign In
- Go to GoDaddy
- Sign in with the shared account

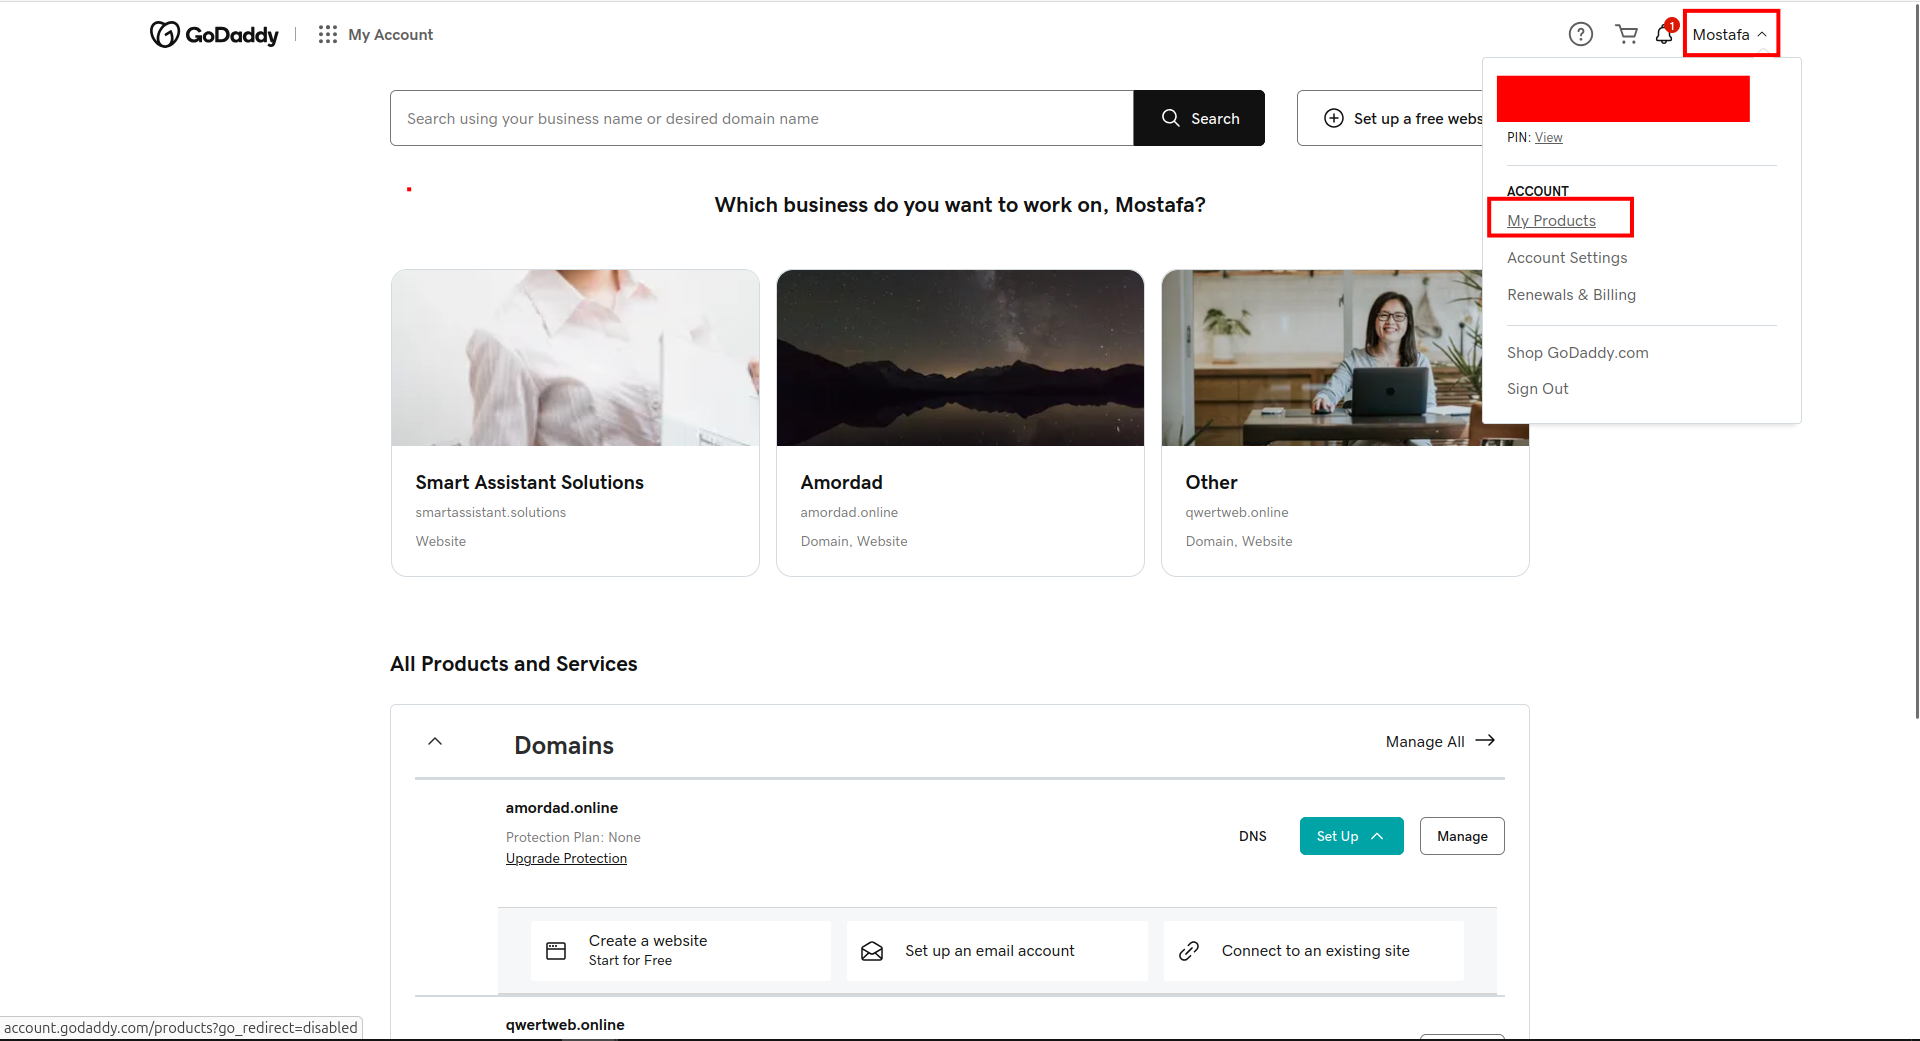
Step 2: Go to My Products
- Click My Products
- Expand the Domains section
Step 3: Open DNS for Your Domain
- Find your domain in the list (scroll down if needed)
- Click Set Up or Manage next to DNS

Step 4: DNS Management Page
You should see the DNS Management page with the DNS Records tab active. Click Add New Record when you're ready to add records.

Step 5: Add A Record
- Click Add New Record
- Type — Select A
- Name — Use a subdomain (e.g.
something). Check existing records to avoid duplicate names. This will be used by Slipstream and DNSST + SSH - Value — Your server's public IP from UpCloud
- TTL — Leave default (e.g. 1/2 Hour)
- Click Save

Step 6: Add NS Record
- Click Add New Record again
- Type — Select NS
- Name — The subdomain for the NS record (e.g.
somethingif you usesomething.example.comfor Slipstream or DNSST) - Value — The hostname of your A record (e.g.
something.example.comif your A record name issomething), or your server's IP - TTL — Leave default
- Click Save

For MoaV (All-in-One)
If you're deploying MoaV, add these records in addition to (or instead of) the above:
| Type | Name | Value |
|---|---|---|
| A | @ |
Your server IP |
| A | dns |
Your server IP |
| NS | t |
dns.yourdomain.com |
| NS | s |
dns.yourdomain.com |
- A @ — Main domain for Reality, Trojan, Hysteria2 (replace
@with your root domain if GoDaddy uses a different label) - A dns — Nameserver for DNS tunnels (
dns.yourdomain.com) - NS t — dnstt tunnel subdomain (
t.yourdomain.com) - NS s — Slipstream tunnel subdomain (
s.yourdomain.com)
Replace yourdomain.com with your actual domain. Some registrars require a trailing dot in the NS value: dns.yourdomain.com.
Next Step
Once DNS is configured, see Connecting to Your Server.